
チュートリアル動画にしたがってCloudflare Workersを使ってみた
こんちには。
データ事業本部 インテグレーション部 機械学習チームの中村( @nokomoro3 )です。
本記事では以下の記事に引き続き、Cloudflare Workersを触ってみたいと思います。
以下の公式YouTubeを参考にしており、半分くらい(32:50)のところまでの内容を本記事で扱っています。
Cloudflare Workersとは
Cloudflare Workersは、Cloudflareが提供するサーバーレスのエッジコンピューティングプラットフォームです。
APIの作成やコンテンツの動的生成や変更などが可能で、Cloudflareの他のサービス(KV、D1データベース、R2ストレージなど)との統合も可能です。
従来のサーバーサイドプログラミングの多くのユースケースをカバーしつつ、エッジコンピューティングの利点を活かした高性能なアプリケーション開発を可能にします。
使用環境
Windows 10のホスト側で作業します。
また各コマンドはPowershellを使って実行しています。
事前準備
以下を事前に実施しておく前提です。
- Cloudflareのアカウント準備
- npm(Node.js)のインストール
npmをpnpmにするとコケることがありましたので、npmを使っています。
使ってみた
プロジェクトの作成
以下を実行すると設定値について聞かれますので、ターミナルで入力をして進めます。
npm create cloudflare
プロジェクト名(アプリケーション名)を設定します。
╰ In which directory do you want to create your application? also used as application name
  ./workers-getting-started
Workerのタイプを選択します。Pythonもあるようですが、今回はグッとこらえてオーソドックスな一番上の「"Hello World" Worker」を選択します。
╰ What type of application do you want to create?
  ● "Hello World" Worker
  ○ "Hello World" Worker (Python)
  ○ Website or web app
  ○ Example router & proxy Worker
  ○ Scheduled Worker (Cron Trigger)
  ○ Queue consumer & producer Worker
  ○ Co-ordination / multiplayer API (using Durable Objects)
  ○ API starter (OpenAPI compliant)
  ○ Worker built from a template hosted in a git repository
TypeScriptは「Yes」を選択します。
╰ Do you want to use TypeScript?
  Yes / No
Gitによるバージョン管理も「Yes」にしておきます。
╰ Do you want to use git for version control?
  Yes / No
デプロイは手動で行いたいですので、以下は一旦Noとしておきます。
╰ Do you want to deploy your application?
  Yes / No
最終的には以下のようにターミナルに表示されました。
using create-cloudflare version 2.22.3

╭ Create an application with Cloudflare Step 1 of 3
│
├ In which directory do you want to create your application?
│ dir ./workers-getting-started
│
├ What type of application do you want to create?
│ type "Hello World" Worker
│
├ Do you want to use TypeScript?
│ yes typescript
│
├ Copying template files
│ files copied to project directory
│
├ Updating name in `package.json`
│ updated `package.json`
│
├ Installing dependencies
│ installed via `npm install`
│
╰ Application created

╭ Configuring your application for Cloudflare Step 2 of 3
│
├ Installing @cloudflare/workers-types
│ installed via npm
│
├ Adding latest types to `tsconfig.json`
│ added @cloudflare/workers-types/2023-07-01
│
├ Retrieving current workerd compatibility date
│ compatibility date 2024-07-25
│
├ Do you want to use git for version control?
│ yes git
│
├ Initializing git repo
│ initialized git
│
├ Committing new files
│ git commit
│
╰ Application configured

╭ Deploy with Cloudflare Step 3 of 3
│
├ Do you want to deploy your application?
│ no deploy via `npm run deploy`
│
├  APPLICATION CREATED  Deploy your application with npm run deploy
│
│ Navigate to the new directory cd workers-getting-started
│ Run the development server npm run start
│ Deploy your application npm run deploy
│ Read the documentation https://developers.cloudflare.com/workers
│ Stuck? Join us at https://discord.cloudflare.com
│
╰ See you again soon!
作成されたプロジェクトには以下のようなファイル・ディレクトリが格納されています。
node_modules/
src/
test/
.editorconfig
.prettierrc
package-lock.json
package.json
tsconfig.json
vitest.config.mts
worker-configuration.d.ts
wrangler.toml
package.json の script のところを確認すると、 wrangler というコマンドで操作されていることが分かります。
{
  "name": "workers-getting-started",
  "version": "0.0.0",
  "private": true,
  "scripts": {
    "deploy": "wrangler deploy",
    "dev": "wrangler dev",
    "start": "wrangler dev",
    "test": "vitest",
    "cf-typegen": "wrangler types"
  },
  "devDependencies": {
    "@cloudflare/vitest-pool-workers": "^0.4.5",
    "@cloudflare/workers-types": "^4.20240725.0",
    "typescript": "^5.5.2",
    "vitest": "1.5.0",
    "wrangler": "^3.60.3"
  }
}
wranglerとは
wranglerはCloudflareのアプリケーションを管理するためのコマンドラインツールで、Workers、Pages以外にもD1やR2、KVなども管理できます。
npx wrangler を実行すれば各操作を実行することができます。
npx wrangler help

# wrangler
#
# COMMANDS
#   wrangler docs [command]            📚 Open Wrangler's command documentation in your browser
#
#   wrangler init [name]               📥 Initialize a basic Worker
#   wrangler dev [script]              👂 Start a local server for developing your Worker
#   wrangler deploy [script]           🆙 Deploy a Worker to Cloudflare  [aliases: publish]
#   wrangler deployments               🚢 List and view the current and past deployments for your Worker [open beta]
#   wrangler rollback [deployment-id]  🔙 Rollback a deployment for a Worker [open beta]
#   wrangler delete [script]           🗑  Delete a Worker from Cloudflare
#   wrangler tail [worker]             🦚 Start a log tailing session for a Worker
#   wrangler secret                    🤫 Generate a secret that can be referenced in a Worker
#   wrangler types [path]              📝 Generate types from bindings and module rules in configuration
#
#   wrangler kv                        🗂️  Manage Workers KV Namespaces
#   wrangler queues                    🇶  Manage Workers Queues
#   wrangler r2                        📦 Manage R2 buckets & objects
#   wrangler d1                        🗄  Manage Workers D1 databases
#   wrangler vectorize                 🧮 Manage Vectorize indexes [open beta]
#   wrangler hyperdrive                🚀 Manage Hyperdrive databases
#   wrangler pages                     ⚡️ Configure Cloudflare Pages
#   wrangler mtls-certificate          🪪  Manage certificates used for mTLS connections
#   wrangler pubsub                    📮 Manage Pub/Sub brokers [private beta]
#   wrangler dispatch-namespace        🏗️  Manage dispatch namespaces
#   wrangler ai                        🤖 Manage AI models
#
#   wrangler login                     🔓 Login to Cloudflare
#   wrangler logout                    🚪 Logout from Cloudflare
#   wrangler whoami                    🕵️  Retrieve your user information
#
# GLOBAL FLAGS
#   -j, --experimental-json-config  Experimental: support wrangler.json  [boolean]
#   -c, --config                    Path to .toml configuration file  [string]
#   -e, --env                       Environment to use for operations and .env files  [string]
#   -h, --help                      Show help  [boolean]
#   -v, --version                   Show version number  [boolean]
#
# Please report any issues to https://github.com/cloudflare/workers-sdk/issues/new/choose
wranglerを使ってCloudflareにログイン
アプリケーションをデプロイするためには、ログインが必要です。以下のコマンドを実行します。
npx wrangler login

#  ⛅️ wrangler 3.67.1
# -------------------
#
# Attempting to login via OAuth...
# Opening a link in your default browser: ...(以降略)
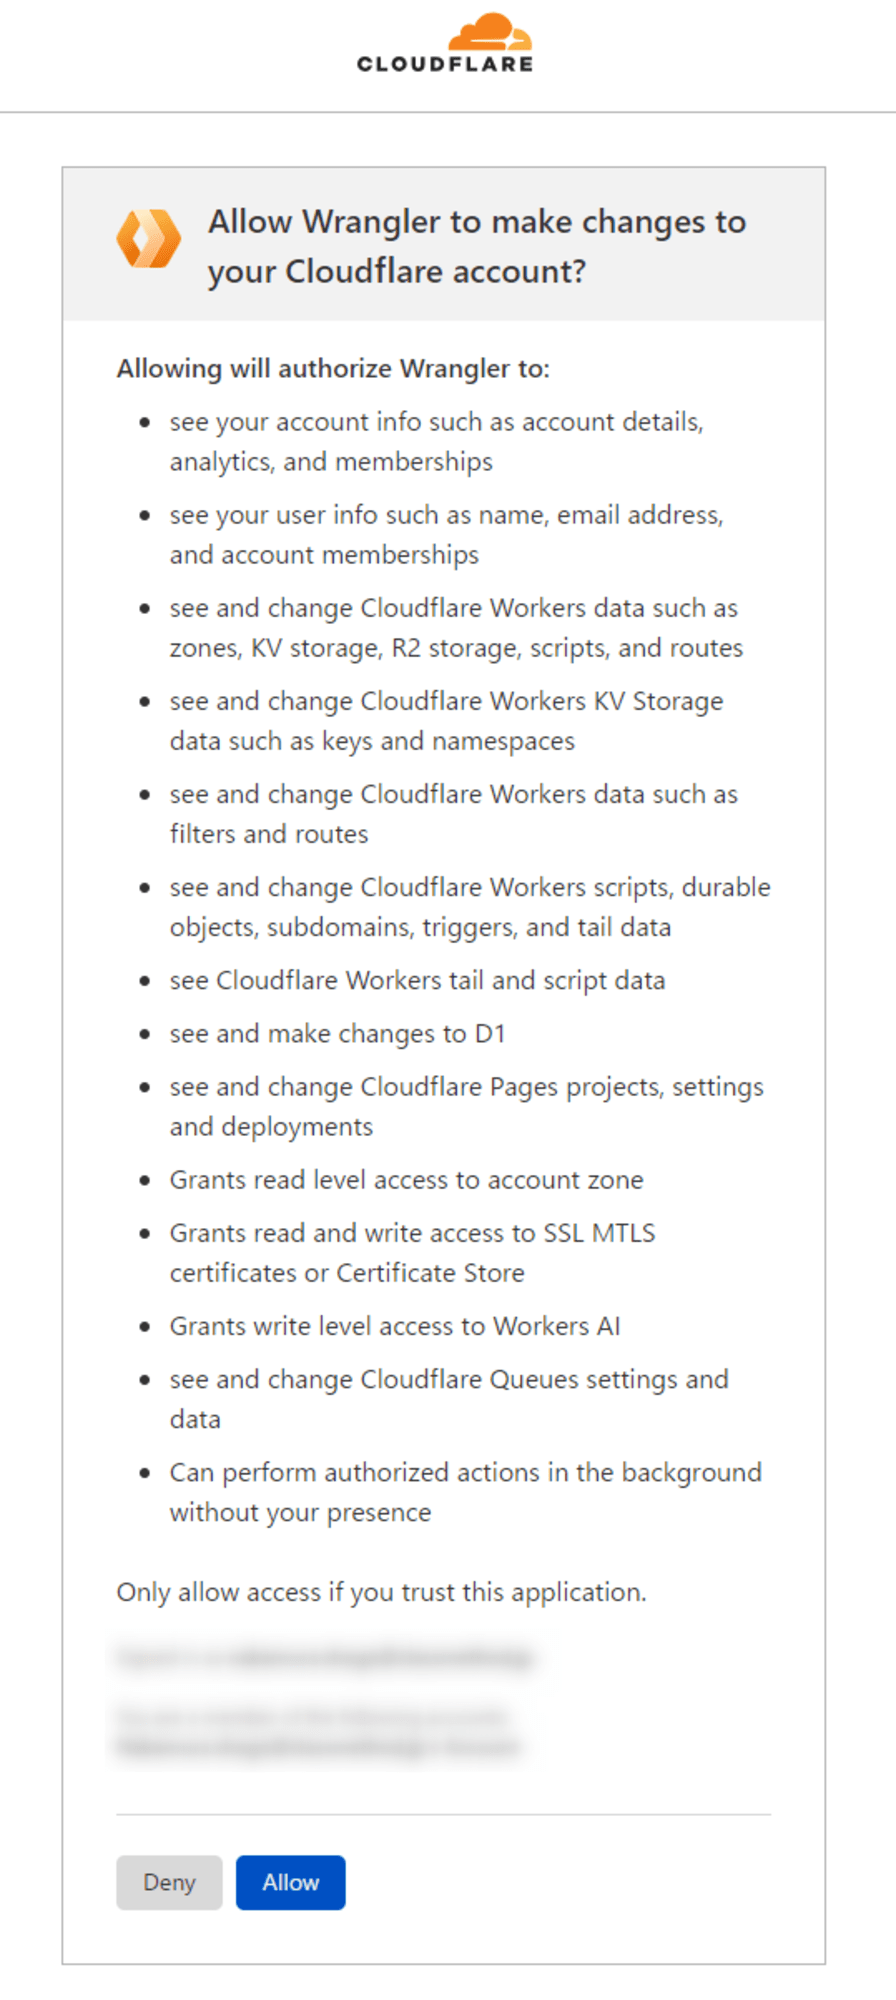
するとブラウザ側に遷移するので、問題なければ以下の「Allow」を押下します。
以下の画面が出ればOKです。こちらのタブは閉じてしまって大丈夫です。
ターミナル側に戻ると「Successfully logged in.」と表示されていると思います。
ログインに失敗する場合は以下の対応を試してみてください(私はここでハマりました)。
ログイン後は、ログイン状況を以下のコマンドで確認できます。
npx wrangler whoami

#  ⛅️ wrangler 3.67.1
# -------------------
#
# Getting User settings...
# 👋 You are logged in with an OAuth Token, associated with the email ****!
# ┌─────────────────────────────────────────┬──────────────────────────────────┐
# │ Account Name                            │ Account ID                       │
# ├─────────────────────────────────────────┼──────────────────────────────────┤
# │ ****                                    │ ****                             │
# └─────────────────────────────────────────┴──────────────────────────────────┘
# 🔓 Token Permissions: If scopes are missing, you may need to logout and re-login.
# Scope (Access)
# - account (read)
# - user (read)
# - workers (write)
# - workers_kv (write)
# - workers_routes (write)
# - workers_scripts (write)
# - workers_tail (read)
# - d1 (write)
# - pages (write)
# - zone (read)
# - ssl_certs (write)
# - ai (write)
# - queues (write)
# - offline_access
デプロイ
ログインすると、アプリケーションのデプロイを行うことができます。
npm run deploy

# > [email protected] deploy
# > wrangler deploy
#
#
#  ⛅️ wrangler 3.67.1
# -------------------
#
# Total Upload: 0.19 KiB / gzip: 0.16 KiB
# Uploaded workers-getting-started (1.22 sec)
# Published workers-getting-started (3.85 sec)
#   https://***
# Current Deployment ID: ****
# Current Version ID: ****
#
#
# Note: Deployment ID has been renamed to Version ID. Deployment ID is present to maintain compatibility with the previous behavior of this command. This output will change in a future version of Wrangler. To learn more visit: https://developers.cloudflare.com/workers/configuration/versions-and-deployments
#
表示されたURLにアクセスすると、Hello Worldを確認することができました。

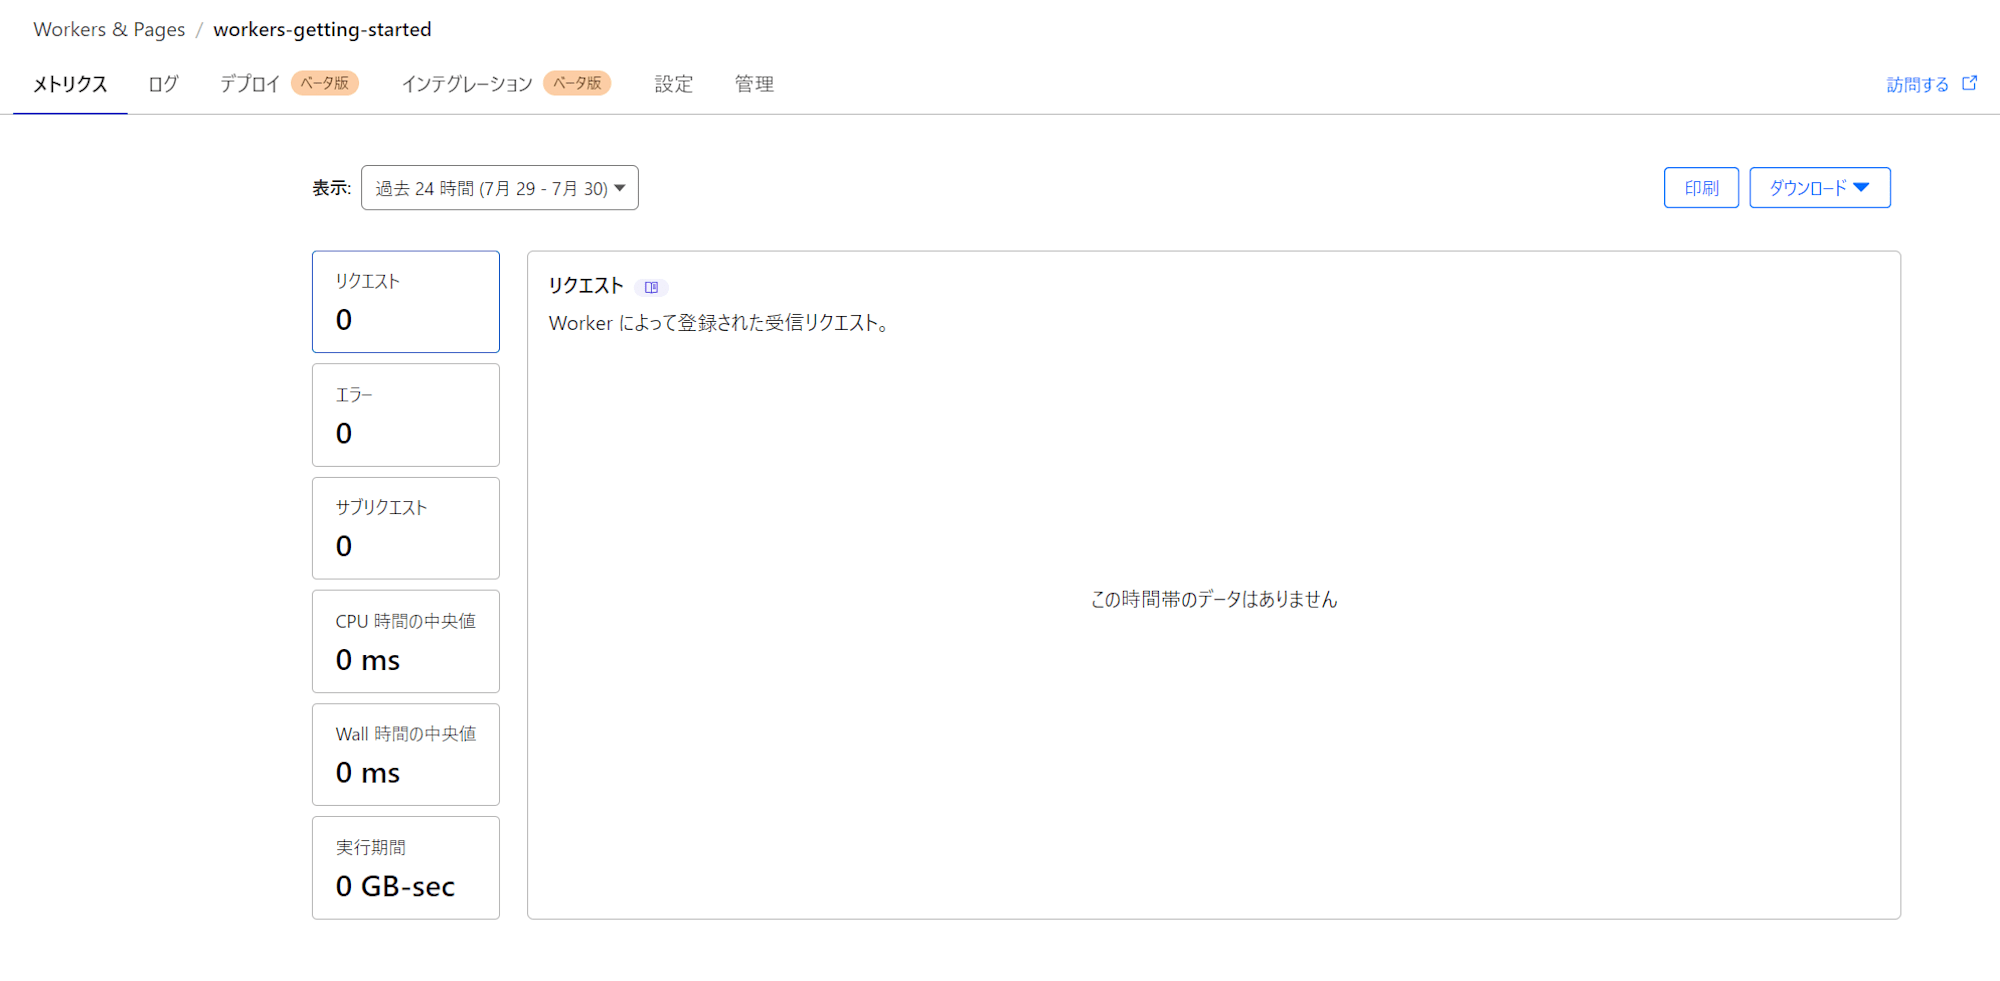
Cloudflareの管理コンソールでもアプリケーションが作成されていることが確認できます。
開発用サーバーの起動
開発用サーバーを起動する方法も確認しておきます。
npm start

# > [email protected] start
# > wrangler dev
#
#
#  ⛅️ wrangler 3.67.1
# -------------------
#
# ⎔ Starting local server...
# [wrangler:inf] Ready on http://127.0.0.1:8787
# ╭──────────────────────────────────────────────────────────────────────────────────────────────────────────────────────╮
# │ [b] open a browser, [d] open Devtools, [l] turn off local mode, [c] clear console, [x] to exit
# ╰──────────────────────────────────────────────────────────────────────────────────────────────────────────────────────╯
http://127.0.0.1:8787 にアクセスすると、ローカル開発サーバーにアクセスできます。実際にはminiflareと呼ばれるツールを使ってローカル開発サーバーをセットアップしているようです。
miniflareはオープンソースのJavaScriptランタイムであり、以下から確認することができます。
コードの編集
アプリケーションのメインは src/index.ts にあります。以下のレスポンスが今ブラウザに表示されています。
export default {
	async fetch(request, env, ctx): Promise<Response> {
		return new Response('Hello World!');
	},
} satisfies ExportedHandler<Env>;
Hello World を変更し、開発サーバーをリロードすると、レスポンスが書き変わっていることが分かります。
export default {
	async fetch(request, env, ctx): Promise<Response> {
		return new Response('Hello, Youtube!');
	},
} satisfies ExportedHandler<Env>;
ローカルモードのオフ
ローカル環境では、Cloudflareの他サービス(D1やKVなど)にアクセスするような動作確認が難しいのですが、ローカルモードをオフにすることでCloudflare固有のプレビューサーバーでテストバージョンを動かすようなことが可能です。
ローカル開発サーバーを動かしている状態で以下のようなメッセージが出ていると思いますが、ここで l キーを押下します。
# ╭──────────────────────────────────────────────────────────────────────────────────────────────────────────────────────╮
# │ [b] open a browser, [d] open Devtools, [l] turn off local mode, [c] clear console, [x] to exit
# ╰──────────────────────────────────────────────────────────────────────────────────────────────────────────────────────╯

⎔ Shutting down local server...
Total Upload: 5.42 KiB / gzip: 1.73 KiB
この設定だけで、プレビューサーバーで動作するように変わっています。
実際ブラウザの開発ツールでレスポンスヘッダを確認すると、元々は以下でしたが、
HTTP/1.1 200 OK
Transfer-Encoding: chunked
Content-Type: text/plain;charset=UTF-8
Content-Encoding: gzip
ローカルモードをオフとすると以下のように CF-RAY が付与されたり Server: cloudflare に変化しています。CF-RAYはリクエストの一意の識別子のようなものとなっています。
HTTP/1.1 200 OK
Transfer-Encoding: chunked
Date: Tue, 30 Jul 2024 03:41:12 GMT
Content-Type: text/plain;charset=UTF-8
Content-Encoding: gzip
Server: cloudflare
Vary: Accept-Encoding
alt-svc: h3=":443"; ma=86400
CF-RAY: 8ab254e6ab5046b5-SIN
...(以降略)
リクエストのダンプ
コード上でリクエストに関する詳細情報をダンプすることもできます。
export default {
	async fetch(request, env, ctx): Promise<Response> {
		console.log(JSON.stringify(request.cf))
		return new Response('Hello, Youtube!');
	},
} satisfies ExportedHandler<Env>;
ローカルサーバーの標準出力としてターミナルから以下のように取得できます。
{
    "clientTcpRtt": 7,
    "longitude": "***",
    "httpProtocol": "HTTP/1.1",
    "tlsCipher": "AEAD-AES256-GCM-SHA384",
    "continent": "AS",
    "asn": 2518,
    "clientAcceptEncoding": "gzip, deflate, br, zstd",
    "country": "JP",
    "verifiedBotCategory": "",
    "tlsClientAuth": {
        "certIssuerDNLegacy": "",
        "certIssuerSKI": "",
        "certSubjectDNRFC2253": "",
        "certSubjectDNLegacy": "",
        "certFingerprintSHA256": "",
        "certNotBefore": "",
        "certSKI": "",
        "certSerial": "",
        "certIssuerDN": "",
        "certVerified": "NONE",
        "certNotAfter": "",
        "certSubjectDN": "",
        "certPresented": "0",
        "certRevoked": "0",
        "certIssuerSerial": "",
        "certIssuerDNRFC2253": "",
        "certFingerprintSHA1": ""
    },
    "tlsExportedAuthenticator": {
        "clientFinished": "****",
        "clientHandshake": "****",
        "serverHandshake": "****",
        "serverFinished": "****"
    },
    "tlsVersion": "TLSv1.3",
    "city": "Tokyo",
    "timezone": "Asia/Tokyo",
    "colo": "NRT",
    "tlsClientHelloLength": "386",
    "edgeRequestKeepAliveStatus": 1,
    "postalCode": "****",
    "region": "Tokyo",
    "latitude": "****",
    "requestPriority": "",
    "regionCode": "13",
    "asOrganization": "****",
    "tlsClientExtensionsSha1": "****",
    "tlsClientRandom": "****",
    "botManagement": {
        "corporateProxy": false,
        "verifiedBot": false,
        "jsDetection": {
            "passed": false
        },
        "staticResource": false,
        "detectionIds": {},
        "score": 99
    }
}
postalCodeやISPなどの情報を確認することができます。
動画内でも botManagement というオブジェクトは興味深いものとして取り上げられており、この中の score でボットかどうかを判断する材料とすることができます。(99は99%の確率でボットではないという意味です)
Bindingsについて
動画内では、 export interface Env というものがメインのコードにあるようですが、現状は worker-configuration.d.ts という別ファイルに定義されています。
// Generated by Wrangler
// After adding bindings to `wrangler.toml`, regenerate this interface via `npm run cf-typegen`
interface Env {
}
/**
 * Welcome to Cloudflare Workers! This is your first worker.
 *
 * - Run `npm run dev` in your terminal to start a development server
 * - Open a browser tab at http://localhost:8787/ to see your worker in action
 * - Run `npm run deploy` to publish your worker
 *
 * Bind resources to your worker in `wrangler.toml`. After adding bindings, a type definition for the
 * `Env` object can be regenerated with `npm run cf-typegen`.
 *
 * Learn more at https://developers.cloudflare.com/workers/
 */

export default {
	async fetch(request, env, ctx): Promise<Response> {
		console.log(JSON.stringify(request.cf))
		return new Response('Hello, Youtube!');
	},
} satisfies ExportedHandler<Env>;
公式ドキュメントで使い方を確認してみます。
EnvはBindingsに使用されるもので、Workersから他のCloudflareのサービスに接続するためのオブジェクトで、以下に記載がありました。
たとえばR2バケットを使用したい場合は、まず wrangler.toml に以下のように記載し、
main = "./src/index.js"
r2_buckets = [
  { binding = "MY_BUCKET", bucket_name = "<MY_BUCKET_NAME>" }
]
その後、コード側で env オブジェクトを使って以下のように env.MY_BUCKET という形でアクセスできるようになるようです。
export default {
  async fetch(request, env) {
    const key = url.pathname.slice(1);
    await env.MY_BUCKET.put(key, request.body);
    return new Response(`Put ${key} successfully!`);
  }
}
Handlersについて
生成されたコードでは fetch というメソッドが定義されていますが、これはFetch Handlerと言われるもので、これ以外にも様々なHandlerを記述することができます。
Handlerは外部入力を受け取って処理するWorkerのメソッドで、Workerの外部から呼び出すことができます。
例えばFetch HandlerはHTTPリクエストを受け取り、レスポンスを返すことができます。
その他にもスケジュールされた処理を扱うScheduled Handlerなどがあります。
export default {
  async scheduled(event, env, ctx) {
    ctx.waitUntil(doSomeTaskOnASchedule());
  },
}
JSONレスポンスを返す方法
JSONのレスポンスをFetch Handlerで返すには以下のように記載します。
export default {
	async fetch(request, env, ctx): Promise<Response> {
		return new Response(JSON.stringify({ hello: "World" }), {
			headers: {
				'Content-Type': 'application/json'
			}
		});
	},
} satisfies ExportedHandler<Env>;
これらはHonoというフレームワークを使えば、より簡単に実行できるようですが、今回はベーシックな方法で試してみます。
最後にデプロイして動作確認をします。
npm run deploy

CLIからもアクセスしてみます。
curl {デプロイ先URL} | jq

#   % Total    % Received % Xferd  Average Speed   Time    Time     Time  Current
#                                  Dload  Upload   Total   Spent    Left  Speed
# 100    17  100    17    0     0     33      0 --:--:-- --:--:-- --:--:--    33
# {
#   "hello": "World"
# }
ただしくリクエストが取得できていることがわかりました。
wrangler.tomlについて
wrangler.toml にはWorkersアプリケーションの様々な設定を記載することができます。
#:schema node_modules/wrangler/config-schema.json
name = "workers-getting-started"
main = "src/index.ts"
compatibility_date = "2024-07-25"
compatibility_flags = ["nodejs_compat"]
name はアプリケーション名、 main はアプリケーションのメインファイルを指定することができます。
compatibility_date は互換性を保つための情報で、動画内でも最も重要な情報と説明されています。
プロジェクトのWorkersのランタイムバージョンを管理するためのもので、特定の日付のバージョンにランタイムをロックするような動作をします。
この設定値やランタイムのChange historyについては以下にも記載されているので、詳細は以下をご確認ください。
まとめ
いかがでしたでしょうか。この動画の続きはHonoフレームワークを使ったもののようですので、こちらも引き続き記事にできたらと思っています。
本記事がCloudflare Workersをお使いになる方の参考になれば幸いです。


